Founded in 1981 by Stewart Wright, Digga started as a small operation in a Brisbane trailer park, supplying earthmoving wear parts to local operators. Operating out of a phone booth, Wright’s vision and determination propelled the company from humble beginnings to a global leader in drilling and piling attachments. The demand for maintaining and supplying drilling augers led to rapid growth, and by 1982, Digga had built its first small factory.
By the late 1980s, Digga’s
expansion strategy took off with the opening of manufacturing and distribution
facilities in Sydney (1989) and Melbourne (1992). This allowed the company to
better support its growing customer base across Australia. But Digga’s
ambitions didn’t stop there. In 1996, the company entered the North American
market, initially supplying gearboxes to Original Equipment Manufacturers
(OEMs) in Canada and the U.S. For over a decade, many North American operators
used Digga products without realizing it, as these gearboxes were sold under
different brand names.
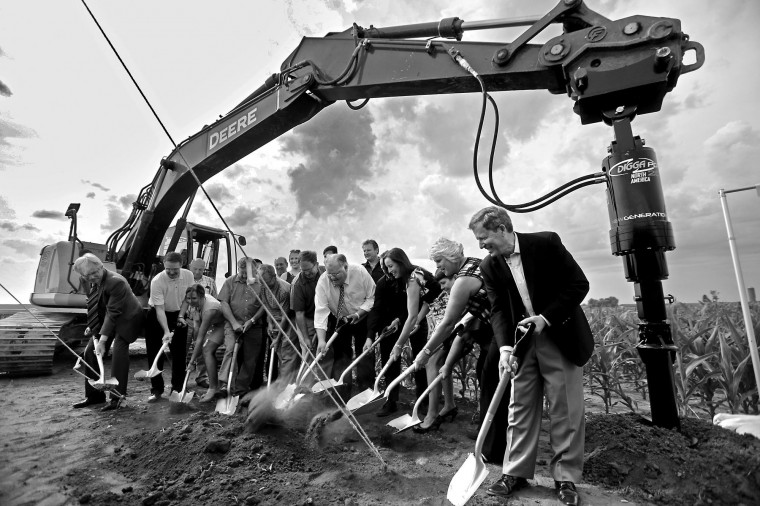
This changed in 2013, when Digga
established its own manufacturing facility in Dyersville, Iowa, signalling a
deeper commitment to its North American customers. “We determined that
manufacturing in the U.S. and being able to react quickly to our customers
would be key to our success,” said Beau Ellingson, Digga’s Sales Manager. While
introducing a new brand to a competitive market was challenging, Digga’s
reputation for quality and performance gradually won over customers. The
company expanded its dealer network and product offerings, becoming a trusted
name in the industry.

With more than 40 years in the
industry, Digga continues to grow its sales in the small to mid-size anchor
drive range, providing cutting-edge drilling drives across North America.